Home › Field notes › Best Modular Backpacks for Hiking: A Trail Duty Spec Sheet
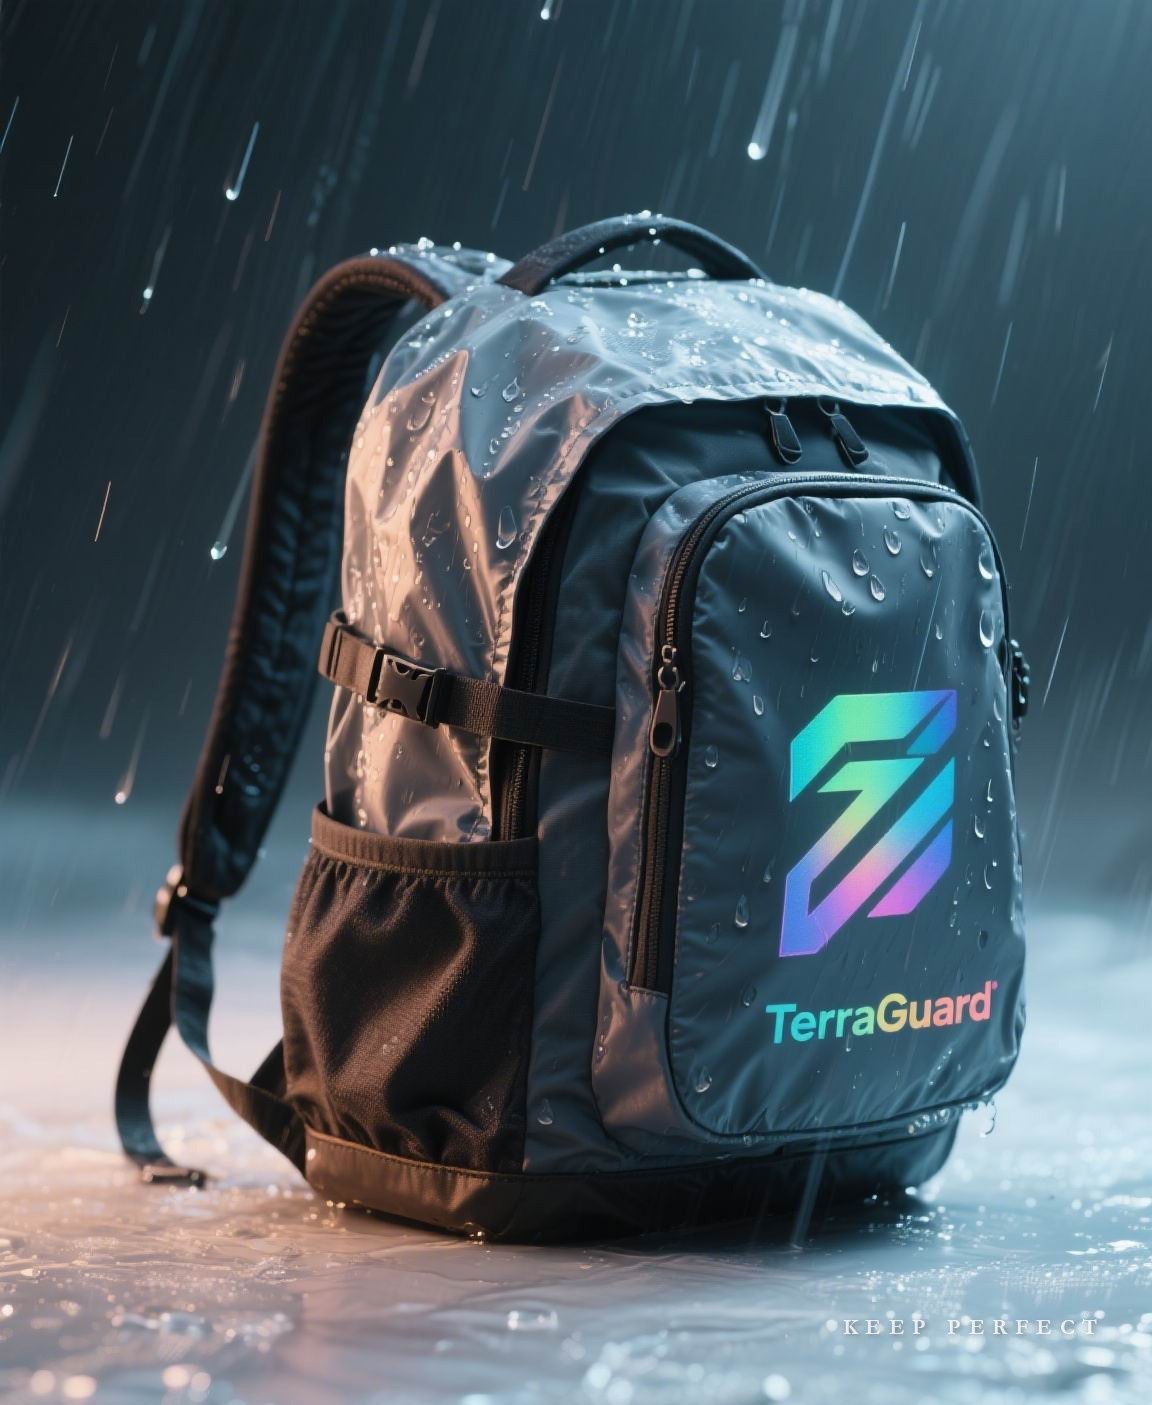
The best modular backpack for hiking is the one whose suspension still works when a loaded pouch hangs off the shell, because trail duty punishes load transfer far harder than it punishes fabric. Capacity alone is a poor selection criterion: two 40 L platforms behave completely differently once 1.5 kg of modules is mounted outside the centre of mass. This spec sheet gives brand and procurement teams the judgement calls behind a modular hiking platform — capacity bands, mounting-face placement, suspension geometry, abrasion zoning, weight discipline and the seam strategy that stands behind any weather claim — plus the test references and order terms that turn a shortlist into a defensible specification. It is written for buyers specifying an entire product range rather than choosing one pack for themselves, so the emphasis sits on decisions that repeat across a season and on the documents that make those decisions enforceable at inspection.
Trail duty: what a hiking chassis actually has to survive
A commuter pack is carried for forty minutes at a time on a flat surface. A hiking pack is carried for six hours over uneven ground, repeatedly, often wet, and the failure budget is completely different. Specifying a modular hiking platform starts by naming that duty cycle in numbers rather than adjectives: hours carried, mass carried, ground type, and the number of times the user takes the pack off and puts it back on.
Sustained load is the first difference. A harness that feels acceptable at 6 kg for an hour will produce pressure complaints at 12 kg over a day, and the complaint usually arrives as "the straps hurt" rather than "the load path is wrong". On a modular shell the problem is sharper, because an externally mounted pouch moves mass away from the spine and increases the moment the harness has to resist.
Abrasion on trail is localised and aggressive. Rock contact concentrates on the lower back panel and the base, where the pack is set down; strap webbing abrades at the shoulder where it crosses a shirt seam. A fabric choice that passes a generic cycle target on flat material says little about behaviour at those contact points, which is why zoning matters more than a single denier figure.
Finally, access intervals are long. A commuter opens a pack twenty times a day; a hiker may open it four times. That changes the design priority from speed of access to integrity of closure: a closure that is opened four times in the rain must still be dry, and a roll-top or a storm flap is judged over hours, not seconds.
Platform options built around this duty cycle are grouped under modular hiking backpacks, and the capacity bands below are the ones used for that range.
Takeaway: Specify a trail chassis for the heaviest permitted load with the heaviest permitted module mounted, and prove the result on a loaded walk rather than a bench review before writing any AQL 2.5 plan.
Capacity bands and where the mounting face belongs
Capacity on a hiking platform should be stated as a band with a defined measurement method, because two brands measuring the same shell will report different litres. Once the band is agreed, the more important question is where external modules are allowed to sit.
External mounting changes the centre of mass. A pouch on the front face pulls the load away from the back; a pouch on the hip belt sits close to the body and behaves well; a pouch high on the lid raises the centre of mass and makes the pack feel unstable on scrambly ground. The practical rule is to keep heavy modules low and close to the spine, and to reserve upper and outer zones for light, bulky items.
Volume stolen by modules is the second consideration. A 40 L shell with four litres of pouches mounted inside the main compartment is a 36 L pack in practice. Where a brand markets total system volume, state shell volume and module volume separately, or the retail claim and the user experience diverge.
| Shell volume band | Realistic trip length | Mounting zone that behaves best | Load caution for the designer |
|---|---|---|---|
| 18–25 L | Day walk, summit push | Hip belt and lower side panels | Lid-mounted mass makes scrambling unstable |
| 28–35 L | Long day, hut-to-hut | Lower side and front face | Front-face mass beyond 1.5 kg pulls the harness |
| 38–45 L | Two to three days, lightweight | Lower front face plus hip belt | External modules reduce usable internal volume |
| 50–65 L | Multi-day, heavier loads | Side compression zones only | Any external mass compounds suspension strain |
Write the mounting zones into the product documentation as permitted positions with a mass limit each. A user who straps a stove to the lid of a 60 L pack will blame the pack when it feels unstable; a documented limit moves that from a defect to a misuse question, which is a commercial outcome as much as an engineering one.
Suspension and load transfer with modules hanging off the shell
Suspension is where a modular hiking platform most often disappoints. The chassis is designed around an internal load; the user then adds external mass, and the harness geometry that worked in the fitting room no longer matches the load.
Start with the frame. An internal frame sheet or a stay set transfers load to the hip belt, and its stiffness has to be specified against the maximum system mass, not the shell mass. A frame that is adequate at 8 kg flexes at 14 kg, the load path collapses into the shoulder straps, and the user reports neck pain by lunchtime.
Hip belt geometry does most of the work. The belt has to wrap and transfer, which means sufficient wrap length, a stiff enough internal structure to avoid rolling, and an angle that suits the intended torso range. Modular hip-belt pouches are popular and genuinely useful, but they add mass at the widest point and can interfere with arm swing — specify the pocket depth, not just the pocket presence.
Load lifters are the cheapest correction available. Correctly placed, they pull the top of the pack toward the body and restore the centre of mass when an external pouch is fitted. Test the pack loaded and with the heaviest permitted module mounted, since that is the configuration the user will actually walk in.
Judgement: Suspension geometry buys more comfort per gram than additional padding ever does, so settle the harness before the shell is released to bulk at MOQ 500 rather than after field complaints arrive.
Abrasion and contact zones specific to trail use
Trail abrasion is not uniform, and specifying one fabric for the whole shell wastes money in some places and under-builds others. Map the shell into contact zones and specify each.
The base takes the most abuse: it is set down on rock, dragged across a tailgate and stood in grit. It should carry the heaviest denier in the construction, a reinforced seam, and ideally a double layer at the corners. The lower back panel takes the second-highest load, both from ground contact and from the user's own movement against it. The shoulder strap run takes continuous rubbing against clothing, which is a comfort issue as much as a durability one.
Rock contact is qualitatively different from fabric-on-fabric abrasion: it is a scraping, cutting action rather than a rubbing one. Standard abrasion routes still screen materials, but a shell destined for granite use should also be screened for tear propagation, because the first scratch becomes a tear if the construction allows it.
| Wear region | Dominant wear mechanism | Build response | Screening test |
|---|---|---|---|
| Base and lower corners | Scraping plus grit embedding | Heaviest denier, doubled corners, bound seams | ASTM D3884 abrasion |
| Lower back panel | Ground contact and body movement | Higher denier panel, smooth finish to shed grit | ASTM D3884 plus visual after cycling |
| Shoulder strap run | Continuous rubbing against clothing | Closed-cell foam with a durable face | ISO 12947 on the strap face |
| Side compression area | Contact with rock on narrow trails | Reinforced panel behind the compression strap | ASTM D5034 tear |
| Lid and top panel | UV and occasional scrape | UV-stable coating, moderate denier | Colourfastness and coating adhesion |
UV deserves a specific callout. A hiking shell spends hours in direct sun at altitude, and coating and dye age faster than a commuter pack's. Where a brand makes a colour guarantee, the colourfastness testing has to include an exposure sequence appropriate to that duty, not just a wash cycle.
Trail contact zones deserve their own abrasion evidence, run to ISO 12947 on fabric taken from the finished panel rather than from a roll end, and extended to printed regions where branding sits inside a contact area.
Hydration, resupply and the modular argument on trail
Modularity earns its place on trail when it solves a real resupply problem. The clearest case is hydration: a dedicated reservoir sleeve with a routed exit works well, but a modular bottle pouch on the harness lets a user choose capacity by trip length. Both approaches are valid; the specification question is whether the interface holds when the bottle is full and the ground is uneven.
A full one-litre bottle weighs about a kilogram and sits at the end of a lever arm. On a hip-belt pouch the lever is short and the arrangement works; on a shoulder-strap pouch it swings and becomes annoying within an hour. Where a strap-mounted bottle is part of the design, the attachment needs a stiffener and a tested cycle count at full mass, not a visual check.
Resupply modules — food, first aid, repair kit — are the second real case. These are accessed at known moments rather than continuously, so they belong in zones that require the pack to come off. That is acceptable on trail and unacceptable in a commute, which is precisely why a hiking platform and an urban platform should not share an access philosophy even when they share a chassis.
Spare capacity is the other half of resupply planning. A platform that is exactly full at the trailhead has no room for a layer added at midday or for food bought at a hut, and users solve that by strapping things to the outside, which is where unsupported loads cause trouble. Designating a compression zone with usable slack is cheaper than pretending the pack is always optimally packed.
The modular argument fails on trail when it adds mass for its own sake. A hiker will notice 200 g of interface hardware on a six-hour carry, and every gram of attachment system has to be justified by a module the user actually removes and refits. Where a module is permanent in practice, integrate it and save the hardware.
Weight discipline: where the grams actually come from
Weight is the most contested number in a hiking specification because it is the one a retail buyer can verify in the aisle. The discipline is to know where the grams are before arguing about them.
On a modular shell the base weight splits into four blocks: shell fabric, suspension, hardware, and the interface system. Shell fabric is usually the largest and the easiest to trim by zoning. Suspension is the block that should not be trimmed, because it carries the comfort of the product. Hardware is where a cheaper buckle saves real money and costs real durability. The interface system is the block unique to modular design, and it is typically 80–200 g depending on how much webbing field and how many attachment points the design carries.
The useful exercise is a per-component gram budget agreed before sampling, with a tolerance. A programme that discovers at first article that it is 300 g over target has three options — trim fabric, trim hardware, or accept the weight — and all three are cheaper to decide at specification stage than on the bench.
Published weights should state what is included. A shell weight, a weight including the removable modules, and a weight including a full reservoir are three different numbers, and the honest presentation is to publish the first two with the third noted as a loaded figure.
Selection rule: Publish empty weight, packed weight and maximum module load as three separate figures, and let the heaviest of them drive fabric denier and hardware selection before a 35-50 days production slot is booked.
Weather, seam strategy and wet-gear management
Weather claims on hiking platforms are where brands most often overreach. A hydrostatic figure quoted on flat fabric does not describe an assembled pack, and a trail user will find the leak path within an hour of the first sustained rain.
The seam strategy decides the real performance. Bound seams, taped seams and welded seams each carry different cost and different durability, and the choice should follow the duty: a shell intended for sustained wet weather needs sealed main seams and a closure that sheds water, while a fair-weather daypack does not need the cost. Where a webbing field or a module interface is stitched through the shell, that region is a managed leak path and the specification should say so rather than pretend otherwise.
Wet-gear separation is the modular win here. A dedicated wet compartment or a removable lined pouch keeps a damp jacket away from a sleeping bag, and it is one of the few module concepts that hikers will pay for. The engineering requirement is simple but often missed: the liner must drain, and the drain must not empty into the main compartment.
Test the claim where the failure will occur. AATCC 127 gives a hydrostatic result on fabric; a shower test on an assembled, loaded pack gives the answer the user will experience. Run both, publish the conservative one, and the warranty exposure drops accordingly.
Weather claims need a stated method too: hydrostatic performance quoted to AATCC 127, seam treatment named separately, and both re-checked after cleaning cycles rather than only on fresh fabric.
Fitting and sizing: the variable that drives returns
Fit is the largest single cause of returns in hiking packs and the least specified feature in most briefs. A shell that fits one torso length will be returned by everyone outside it, and the complaint will be written as poor comfort rather than wrong size, which makes it hard to diagnose from return data.
The fix is to specify a torso range with a stated measurement method and to offer at least two back lengths across a range. Where a programme cannot justify two lengths, the harness should be adjustable across a stated range, and the adjustment mechanism has to hold its setting under load — an adjuster that slips is worse than no adjuster, because the user blames the pack for a problem they cannot see.
Then test fit loaded. An empty pack fits differently from one carrying 10 kg, and a modular platform should be fitted with the heaviest permitted module attached. Run the session across the intended size range with several bodies rather than one fit model, and record measurements rather than impressions.
| Dimension to record | Recording method | Complaint it predicts |
|---|---|---|
| Torso length | Seventh vertebra to the iliac crest, standing | Belt riding on the wrong part of the hip |
| Hip-belt wrap angle | Belt closure position under load | Belt rolling or digging at the front |
| Shoulder strap anchor height | Relative to the seventh vertebra | Strap cutting in at the neck |
| Load-lifter angle | Degrees above horizontal when tensioned | Pack pulling away from the back |
| Belt-to-frame load share | Observed and reported by the wearer | Shoulder fatigue after two hours |
Publish the sizing guidance with the product. A size chart that tells a buyer which back length to choose reduces returns more effectively than any harness refinement, and it costs nothing beyond a page in the documentation.
Verdict: Returns fall fastest when sizing is documented rather than guessed, so publish torso length, hip-belt range and maximum loaded weight on the listing before the first MOQ 500 run reaches the warehouse.
Specification, testing and the commercial frame
A hiking specification should close every field a production partner needs to quote and build: capacity band with a measurement method, permitted mounting zones with mass limits, shell construction by zone, suspension specification with a maximum system mass, closure and seam strategy, hardware with finish, and the branding method. Anything left open will be resolved in favour of the cheapest interpretation.
Testing then follows the duty cycle. Abrasion to ASTM D3884 or ISO 12947 by zone; tear to ASTM D5034 on woven shells; coating or laminate bond to ASTM D751; water resistance to AATCC 127 with a shower test on the assembled pack; colourfastness to washing under ISO 6330 and to crocking under AATCC 8. Where the programme sells into the EU, confirm textile components against REACH (EC 1907/2006) and consider OEKO-TEX Standard 100 as accepted evidence; metal hardware should carry EN 1811 nickel-release results.
Commercially, the order floor is 500 units per colourway. Sampling comes back in 6–10 working days, or 12–15 working days when a moulded back panel or a bonded construction is in play, and assembly then needs 35–50 days from approval with all inputs confirmed. Transit is 25–35 days by ocean, 5–8 days by air and 3–5 days by express parcel. Terms are T/T 30/70 on an FOB Xiamen quotation. Inspection sampling is taken under ISO 2859-1, with majors held at AQL 2.5 and criticals in their own class.
Where the platform carries external pouches, the attachment specification belongs in the same document as the shell — see the field engineering set out on PALS webbing field engineering — because a hiking shell and its mounting face are one structural decision, not two. Our production team runs 7 production lines across a 4,950 m² SGS-verified production floor, which is what lets a trail platform be sampled and re-sampled without losing the season.
Bottom line: Quote trail programmes FOB Xiamen with one 6-10 working days prototype round and 35-50 days of bulk from approval, then defend the ship date with a written inspection plan rather than with optimism.
Frequently asked questions
What capacity should a modular hiking platform be built around?
Choose a band rather than a single figure: 18–25 L for day walks, 28–35 L for long days, 38–45 L for lightweight two-to-three-day trips. State the measurement method, publish shell volume separately from module volume, and add a compression zone with usable slack for a layer added at midday.
Where should heavy modules be mounted on a hiking shell?
Low and close to the spine. Hip-belt and lower side positions behave well; lid or upper front-face mounting raises the centre of mass and makes scrambling feel unstable above roughly 1.5 kg. Write permitted positions with a mass limit each into the documentation.
Does an external pouch change the suspension requirement?
Yes. Frame stiffness and hip-belt structure must be specified against maximum system mass, and the fit checked with the heaviest permitted module mounted rather than with the empty shell. Load lifters are the cheapest correction when external mass is carried.
Which fabric zones need the heaviest construction?
The base and lower corners take scraping and grit, then the lower back panel. Zone the denier rather than upgrading the whole shell, screen each zone with ASTM D3884 or ISO 12947, and add tear screening where rock contact is expected.
Is a hip-belt bottle pouch a good idea?
Usually, because the lever arm is short. A shoulder-strap bottle swings under a full kilogram and needs a stiffener plus a cycle test at full mass before it reaches a retail shelf. Where the bottle rides on the harness, drainage matters too.
How should a weather claim be tested?
Run AATCC 127 on the fabric and a shower test on the assembled, loaded pack, then publish whichever result is more conservative. State the seam strategy, because a stitched mounting field is a managed leak path rather than a dry one.
What does the interface system add to base weight?
Typically 80–200 g depending on field size and attachment count. Agree a per-component gram budget with a stated tolerance before sampling, so an overage becomes a decision between trimming fabric, trimming hardware or accepting the weight. Agree the budget before sampling so an overage becomes a decision.
What is the minimum order and sampling window?
The order floor is 500 units per colourway. Sampling comes back in 6–10 working days, or 12–15 working days when a moulded back panel or a bonded construction is involved, and hardware availability is the usual cause of slip.
How long does assembly and shipping take?
Assembly needs 35–50 days from approval with all inputs confirmed. Transit is 25–35 days by ocean, 5–8 days by air and 3–5 days by express parcel, and laboratory reports have to be ready before the shipment is released.
What inspection standard should a trail platform use?
ISO 2859-1 sampling with majors held at AQL 2.5 and criticals in their own class. Define defect types by zone so an inspector rejects on evidence rather than impression, and include the mounting field in the plan. Write the definitions into the plan before production opens.
Which compliance documents apply to a hiking shell in the EU?
REACH (EC 1907/2006) documentation for textile and coated components, OEKO-TEX Standard 100 as accepted textile evidence, and EN 1811 nickel-release results for metal hardware. Reports must describe the construction and lot actually shipped. Match each report to the construction and lot actually shipped.
Should a hiking platform share a chassis with a commuter pack?
Rarely. Access philosophy is the blocker: commuter design optimises for twenty openings a day, while trail design optimises for closure integrity over hours in the rain. Ventilation and stability trade offs differ as well. Confirm the fit philosophy before any chassis is shared.