Home › Field notes › Detachable Waist Bag Module: Load Paths, Interfaces and Buyer Checks
A detachable waist bag module earns its slot on a pack only when it shifts measurable mass off the trapezius and still comes free with one hand. Specify it as a hip-borne load path anchored to 25 mm webbing, confirm the interface against 38 mm vertical spacing and 50 mm horizontal repeat, and gate the program on MOQ 500 with sampling 6-10 working days before any pattern is cut. That sequence matters, because buyers who begin with the pouch silhouette and treat anchorage as trim end up with a module that swings, steals rows the user wanted for something else, and comes back marked "floppy" rather than "broken". The engineering order runs the other way: freeze the anchors, freeze the closure, then draw the bag around both. Read the tables as acceptance criteria rather than background: each row states a value, a drift limit and the trigger that rejects a lot. Three tables carry the numbers: load-share targets, interface callouts and failure signatures.
What a hip-borne module actually changes in the load path
The marketing claim attached to a detachable waist bag module is that it takes weight off the shoulders. The engineering question is how much, and under what motion. A hip-slung pouch sits near the iliac crest, so its contents reach the skeleton through the pelvis instead of through the shoulder straps, the trapezius and the cervical spine. That is a real gain, but it only holds while the pouch stays planted. Once a pouch hangs from a single anchor and is free to swing, the load stops being static and becomes a pendulum: every step adds a horizontal impulse, the impulse is carried by the webbing and its stitch block rather than by the belt, and the user reports shoulder fatigue anyway because they are subconsciously bracing against the sway.
Set the load-share target in the brief, then verify it with people rather than with a tape measure. The practical trial is a loaded carry with the harness adjusted by someone who has read the fitting instructions, followed by a stair descent and a short stretch of uneven ground, with the observer recording belt migration, pouch rotation and any contact between the pouch and the thigh during a normal stride. Photograph the belt position at minute zero and at minute thirty; belt creep is the single most honest signal that the load transfer you specified is not the load transfer you shipped.
| Carry condition | Target share carried on the belt | Permitted sway at the pouch | Trial that exposes a shortfall |
|---|---|---|---|
| Level walk, 30 minutes, 6 kg total | 55-65 % of system mass | Under 15 mm lateral | Belt position photographed at 0 and 30 minutes |
| Stair descent, 6 kg total | 50-60 % | Under 20 mm lateral | Observer counts thigh contact per flight |
| Uneven ground, 8 kg total | 50-60 % | Under 25 mm lateral | Belt creep measured against a marked start line |
| Transit standing, shoulder-strapped | 30-40 % | Under 10 mm lateral | One-hand detachment timed while standing |
| Short run to make a connection | Not applicable | Zero rotation tolerated | Two-anchor check: pouch may not spin on the belt |
The last row is the one that decides the architecture. A module that must survive a run needs a second stabilisation point, whether that is a second webbing tab, a hook-and-loop backing patch, or a shaped shell that keys against the belt. A module sold as an urban organizer can live with one anchor and a controlled amount of movement, provided the brief says so in writing and the claim on the product page matches.
Selection rule: Adopt a hip-borne module when the duty moves weight off the shoulders for extended periods and keep everything else on the harness, since every extra interface adds tooling cost at MOQ 500 plus its own failure mode.
Interface geometry: the callouts that decide whether modules interchange
Interchangeability is a drawing problem long before it is a marketing promise. Three numbers govern whether a hip module fits the host chassis it was sold against: 25 mm webbing, 38 mm vertical spacing and 50 mm horizontal repeat. Webbing width sets the hardware you can buy off the shelf and the stitch block you can build. Vertical spacing sets how many rows a given pouch height consumes. Horizontal repeat sets whether a pouch mounted at the left hip lines up with the same rows as one mounted at the right, which in turn decides whether a left-hand and a right-hand variant are one SKU or two.
Every one of those numbers needs a tolerance and a rejection trigger written next to it. A row that is 2 mm out of pitch does not look wrong on a sample, but it doubles the threading force on a stiff pouch and makes users abandon the attachment in the field. Bar-tack placement matters as much as pitch: the tack is what stops a pouch from migrating horizontally under side load, and a tack placed on top of a seam allowance rather than through the full stack will peel before it shears.
| Decision | Specified value | Permitted drift | Rejection trigger |
|---|---|---|---|
| Webbing width | 25 mm | ±0.5 mm | Hardware rocks or binds on a gauge check |
| Vertical row spacing | 38 mm | ±1 mm over 8 rows | Cumulative pitch error above 3 mm |
| Horizontal repeat | 50 mm | ±1 mm | Left and right mounts do not share rows |
| Bar-tack coverage | Full stack, both faces | None | Tack sits on seam allowance only |
| Stitch density at anchor | 7-9 stitches per 25 mm | ±1 stitch | Skip stitch visible at 3x magnification |
| Backing reinforcement | One extra layer under every anchor | None | Anchor pulls through shell under hand load |
Write these callouts into the tech pack as frozen dimensions and list the change path separately. If a supplier proposes to move a row to save fabric, the answer is not yes or no, it is "that voids the interchangeability claim and forces re-validation of every module already quoted". Buyers who treat interface dimensions as frozen, and everything else as negotiable, keep their accessory roadmap intact across seasons.
Verdict: Publish 25 mm webbing width, 38 mm vertical spacing and the 50 mm horizontal repeat as frozen callouts, leaving colourway, finish and trim negotiable across later seasons.
Closure families worth quoting on a detachable hip module
Four closure families dominate hip-module quotations, and each one fails differently. A side-squeeze buckle is cheap, familiar and tolerant of dirt, but it needs two hands and a visible line of sight the first few times, which is exactly what a hip-mounted pouch does not get. A cam buckle grips webbing by friction and is excellent at holding a belt under tension, but it is a poor choice for a module that must come off in under two seconds because the user has to unthread or back-feed the tail. Hook-and-loop is quiet and infinitely adjustable, and it is the wrong primary retention for anything valuable: it collects lint, it loses grip when wet, and its peel strength drops sharply once the hook side is contaminated with fabric dust.
The fourth family is the magnetic-guided mechanical latch, the category in which Fidlock is one manufacturer alongside others. The magnet does not hold the load; it locates the two halves so the mechanical catch can engage without the user aiming. That single property is why this family shows up on hip modules: the pouch is behind the hand, out of sight, often operated while the user is walking or wearing gloves. The price of the property is a tolerance stack. The two halves must sit within a small offset of each other or the latch will not self-locate, which means the shell, the stiffener and the stitch block all have to hold their position through washing and through a season of use.
Whatever you choose, quote it as an interface type with a specification, not as a brand name with a reputation. Ask for pull-off force in the axis the product will actually see, shear figures in the second axis, a cycle-life number tied to a stated load, and a temperature range. If the hardware supplier cannot produce a datasheet with those four lines, the part is a fashion trim and should be priced and warranted as one.
Shell, stiffener and stitch specification for the hip position
The hip is a hostile place for soft goods. The pouch is pressed against the body by the belt, rubbed by the hip belt on one face and by clothing on the other, and exposed to sweat and to whatever the user sits on. Shell selection should start from abrasion and dimensional stability rather than from hand feel. A mid-weight woven shell in the 420-1000 denier band covers most hip modules; the lower end suits an organizer sleeve that lives under a jacket, the upper end suits a pouch that will be dragged across a car seat or a rock ledge. Back the shell with a coating only where shedding water matters, and remember that a coating stiffens the panel and makes threading through webbing rows harder.
A thin stiffener behind the anchor block is the cheapest insurance in the whole construction. Without it, the pouch deforms under its own contents, the anchors rotate, and the load path you designed turns into a bending load on the stitch line. A closed-cell foam or a moulded insert between lining and shell, captured by the same stitch block that carries the anchors, keeps the panel flat at a cost of a few grams and one extra operation.
Thread and stitch density deserve their own line in the pack. Bonded filament thread in the size 69 to 92 range is the working default for structural seams on a load-bearing pouch; cotton-wrapped or low-tenacity thread may look identical on a sample and will fail early in the field. Verify with ASTM D5034 for grab tensile on the seam, ISO 12947 for abrasion on the face fabric, and ISO 6330 if the module is marketed as washable. Where a water-resistance claim appears on the packaging, back it with AATCC 127 and write the hydrostatic result into the specification so the marketing copy and the test report agree.
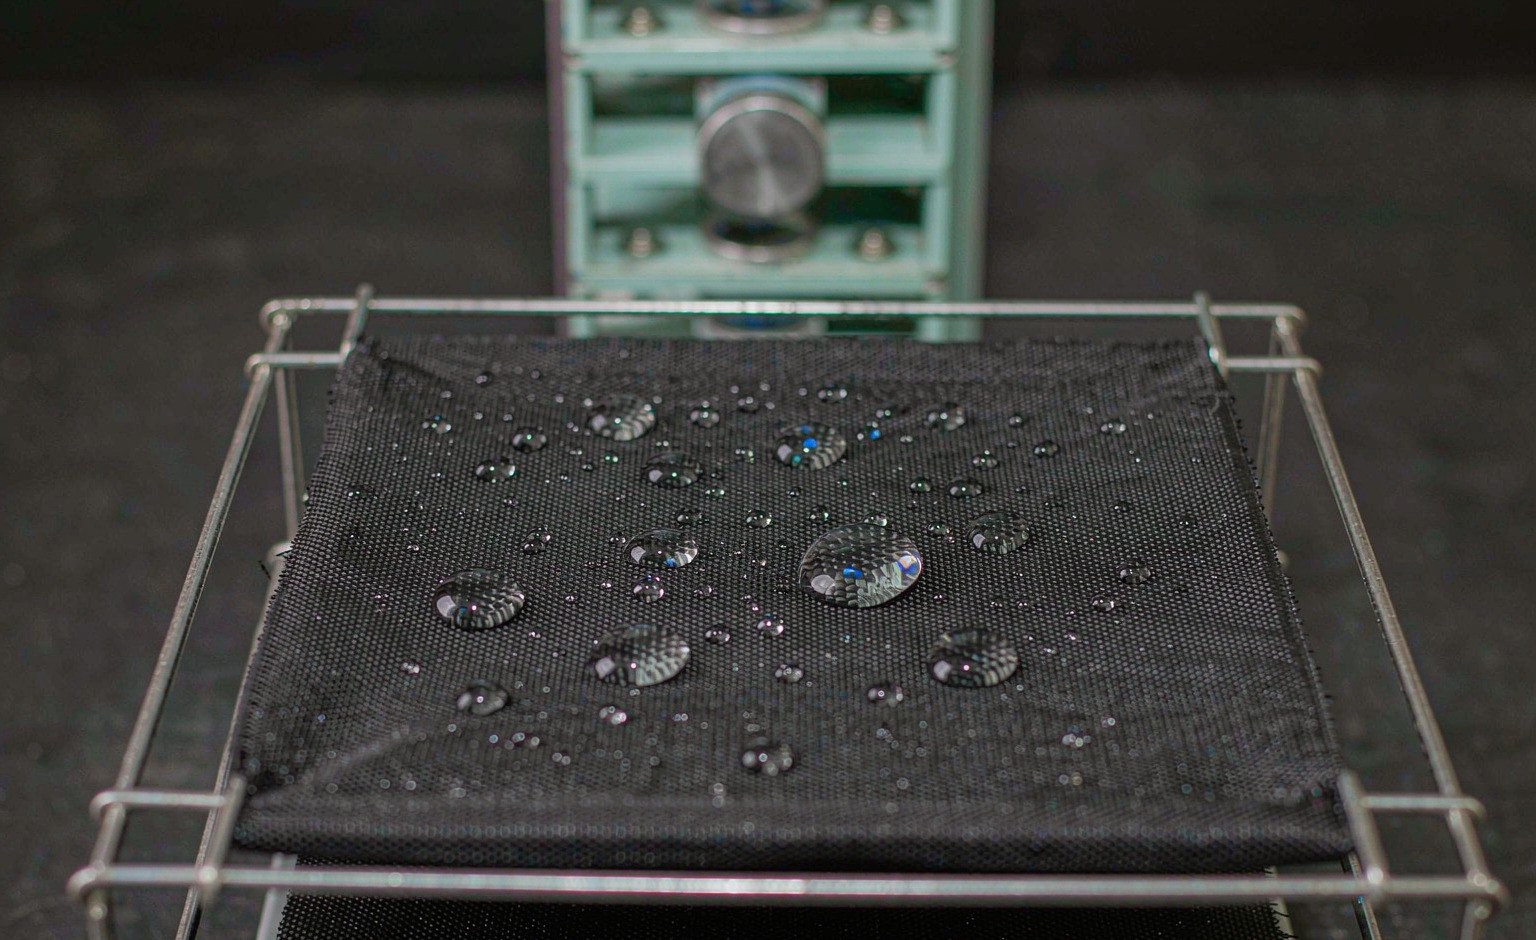
Weather language needs a method behind it: hydrostatic performance quoted to AATCC 127 on the finished shell rather than on raw rolls, with the result written into the specification instead of into sales copy.
Evidence to demand before tooling release
Tooling release is the point of no return on cost and on schedule, so the evidence gate sits before it, not after. The minimum package for a hip module is a structural sample built from production-intent materials, a dimensional report against the frozen interface callouts, and a cycles test on the closure at a stated load. Ask for the closure cycling to be run on assembled pouches rather than on bare hardware, because the failure you are hunting for is usually the panel tearing around the hardware, not the hardware breaking.
Bulk acceptance is a separate gate and should be written into the purchase order. AQL 2.5 against ISO 2859-1 is the working inspection level for sewn soft goods of this class; MIL-STD-105 is the older scheme some buyers still name and the two are close enough in behaviour for a general-merchandise inspection, but do not let a purchase order name one sampling plan and an inspection report cite the other. Define the defect classes in the same document: critical for anything that releases unintentionally, major for dimensional drift that breaks interchange, minor for cosmetic issues inside a stated viewing distance.
Metal parts on a hip module sit in sweat for hours at a time. Require a coating or substrate specification for every metal component and a salt-spray result to ASTM B117 if the hardware is plated steel rather than a corrosion-resistant alloy or polymer. Twenty-four to forty-eight hours of exposure with no base-metal corrosion is a reasonable acceptance line to write into a hardware specification, and it costs very little to demand at quotation stage compared with a season of rust-coloured returns.
Judgement: Release tooling only after a corrosion result on metal parts, a pull result on the interface and the 6-10 working days prototype review have cleared together rather than one at a time.
Failure modes that drive returns on hip modules
Returns data on modular hip pouches clusters into a handful of causes, and almost all of them are design-visible before production. Swing is the first: a single-anchor pouch with a heavy contents load rotates, the user feels it as instability, and the return reason is written as "uncomfortable" rather than as an engineering defect. Fix it with a second stabilisation point or by moving the pouch mass closer to the belt plane.
The second cluster is anchor tear-out, where the webbing survives and the shell around it does not. This is a stitch-block and backing problem, and it shows up as a crescent-shaped tear starting at the bar-tack corner. The third is closure contamination: hook-and-loop packed with lint, or a magnetic-guided latch whose seating face has picked up grit so the mechanical catch no longer fully seats. Both are solvable with a facing material choice and, in the case of a latch, with a recess that shields the seating face.
| Reported symptom | Root mechanism | Where it is decided | Upstream control |
|---|---|---|---|
| Pouch swings while walking | Single anchor, mass held away from belt plane | Concept layout | Second stabilisation point; mass pulled inboard |
| Crescent tear at the webbing root | Stitch block too small; no backing layer | Pattern and tech pack | Wider tack, one reinforcing layer, ASTM D5034 check |
| Closure will not stay shut | Seating face contaminated or out of plane | Hardware and panel design | Recessed seat; grit-shielding facing |
| Rust staining after one season | Plated steel in a sweat zone | Hardware specification | Alloy or polymer part; ASTM B117 evidence |
| Does not fit the older pack | Interface drift between seasons | Change control | Frozen pitch; re-validation on any change |
The last row is the one that costs the most money over time. An accessory programme is sold on the promise that this year's pouch fits last year's chassis. Every unrecorded change to row pitch or webbing width silently breaks that promise, and the breakage surfaces as a review, not as a defect report.
Takeaway: Rank hip-module failures by how often each causes a return rather than by how the damage looks, then address webbing, stiffener and coating in that order inside the 35-50 days bulk window.
Cost, quantity and schedule arithmetic for a module programme
A hip module is a small unit with a disproportionately large number of setup events. The pouch itself is cheap; the hardware, the print or woven label, the moulded zipper pull if you use one, and the packaging card each carry their own minimum. That is why MOQ 500 is the practical floor for a first module run: below it, the fixed costs of tooling, screens and label minimums are spread across too few units to produce a defensible landed cost, and any re-order will be quoted at a different price because the setup has to be paid again.
Budget the development line separately from the unit price. A plain pouch in a stock cloth is sampled for USD 50-150, credited back when the order lands; introduce a new moulding, a bespoke latch housing or artwork printed on the panel and the spend moves into screens and tooling at USD 300-2,500, with moulded and die-cut items sitting at the top of that band. Once the sample is approved, plan on 35-50 days for bulk, and that figure assumes the hardware was ordered alongside the fabric rather than after approval.
Commercial terms and freight are the rest of the arithmetic. T/T 30/70 is the standard structure, FOB Xiamen is the quoted basis, and the freight leg sets the cash cycle: sea freight 25-35 days to most Western ports, air 5-8 days when a launch date is at risk, courier 3-5 days for samples and small top-ups. Consolidate a module order into the same container as its host chassis wherever possible, since a partial carton shipped separately to protect a launch date usually costs more than the margin on the units it contains.
Bottom line: Quote the programme FOB Xiamen at MOQ 500 per colourway with a 35-50 days bulk window, then protect that quote by booking materials when the prototype clears rather than when the purchase order arrives.
Documentation for EU and US shelves
A hip module inherits the compliance obligations of the chassis it is sold with, plus its own as a standalone item. Chemical documentation is the first gate: a declaration under REACH (EC 1907/2006) for European customers, a Proposition 65 assessment wherever any listed substance exceeds the safe-harbour threshold in the United States, and CPSIA paperwork with tracking labels for anything presented as a children's item. OEKO-TEX Standard 100 certification on the face fabric and the lining shortens the conversation with most European retailers and is cheap relative to the delay it prevents.
Metal hardware in contact with skin needs a nickel-release position. EN 1811 is the reference method, and a supplier who can produce a current test report at the part level, not just at the material level, will save you a re-test at the border. Social-compliance evidence is the second gate: BSCI audit reports and an ISO 9001 certificate for the facility that sews the pouch. Ask for the certificate number and the scope statement, because a certificate whose scope covers cut-and-sew but not the hardware sub-assembly does not cover what you are buying.
EU and US shelf requirements diverge in useful ways, so frame substance declarations against REACH (EC 1907/2006) for Europe and settle warning obligations before pallets move rather than after goods arrive.
The brief that survives first contact with production
A purchase-order brief for a hip module fails when it describes the pouch and leaves the interface, the closure and the acceptance criteria to interpretation. Write it as a closed list. Start with the frozen dimensions: 25 mm webbing, 38 mm vertical spacing, 50 mm horizontal repeat, plus the anchor stitch block and the backing requirement. Add the closure specification with pull-off and shear figures, cycle life and temperature range, and name the family rather than only the brand so a second source remains possible.
Then write the evidence: sample quantity and build intent, the dimensional report against the drawing, the cycles result at stated load, the seam test to ASTM D5034, the abrasion result to ISO 12947, the hardware coating evidence to ASTM B117, and the bulk inspection level at AQL 2.5 under ISO 2859-1 with defect classes defined. Close with the commercial block: MOQ 500, then 6-10 working days to sample a simple pouch and 12-15 for a complicated one, a USD 50-150 sample charge credited back against the order, USD 300-2,500 for screens and tooling, then 35-50 days of bulk production, T/T 30/70 terms and FOB Xiamen delivery.
Finish with packing and shipment, because it is where schedules are usually lost. State carton quantity, carton specification and the container plan: work on roughly 28 CBM for a 20GP and 68 CBM for a 40HQ, and plan a mixed order of chassis and modules by carton count rather than by unit count. A brief with these blocks closed turns the first production run into a schedule question instead of a discovery exercise.
Frequently asked questions
How much weight should a detachable waist bag module carry?
Set the target in the brief rather than leaving it to the user. A hip module in the 1-3 kg band is comfortable for most adults when the belt is correctly sized; above that, sway and belt creep grow quickly. The controlling factor is not the mass alone but the moment arm, so specify how far the pouch centre of mass may sit from the belt plane.
Does a hip module need one anchor or two?
Two stabilisation points if the user will walk fast, run or cross uneven ground; one is acceptable for an urban organizer that stays put. The decision belongs at concept stage because it changes the shell shape and the anchor layout. Write the permitted sway figure into the specification so the choice can be checked rather than argued.
Why is 25 mm webbing the default for a hip module interface?
It is the width that matches the widest range of off-the-shelf hardware and pouch fittings while still fitting a 38 mm vertical spacing without crowding. Narrower webbing saves weight and loses shear capacity; wider webbing forces a taller row pitch. Treat the width as frozen and change capacity through stitch block and backing instead.
What closure cycle life should a hip module specification require?
Ask for a figure tied to a stated load and to an assembled pouch, not to bare hardware. A working acceptance line is a cycle count in the low thousands at the target pouch mass with no measurable loss of engagement force. Insist that the test is run on the production-intent panel, because panel tear-out usually precedes hardware failure.
How is unintended opening tested on a hip pouch?
Run a loaded sway trial plus a snag trial: carry the pouch at target mass, then drag its face across a coarse textile and across a seat belt edge under body pressure. Any release below the specified pull-off force is a critical defect. Combine it with a seated-compression test, since the hip is compressed whenever the user sits down.
Which standards should appear on a hip module test report?
ASTM D5034 for seam grab tensile, ISO 12947 for face abrasion, AATCC 127 where water resistance is claimed, ISO 6330 if washable, ASTM B117 for plated metal parts, EN 1811 for nickel release on skin-contact hardware, and ISO 2859-1 for the bulk sampling plan at AQL 2.5.
What drives the unit cost of a hip module most?
Hardware and setup events, not fabric. The closure, the label minimums and any moulded part dominate at MOQ 500, while the shell is a small share. Expect tooling and screens at USD 300-2,500 when a custom part is involved, and expect the sampling fee of USD 50-150 to be refunded against the order.
How long does a hip module programme take from approved sample?
Plan on mass production 35-50 days after sample approval, provided hardware was ordered with the fabric. Add sea freight 25-35 days, or air 5-8 days if a launch date is at risk. Sampling itself runs 6-10 working days for a straightforward pouch and 12-15 for a complex build.
Can a hip module be sold as a standalone SKU and as a chassis accessory?
Yes, and it is usually the better commercial structure, but it doubles the compliance paperwork. Sold alone it needs its own labelling, tracking and chemical documentation; sold with a chassis it inherits some of that. Decide at quotation stage, because packaging and labelling minimums are among the setup costs that set MOQ 500.
What is the most common cause of a hip pouch tearing away?
Anchor tear-out, not webbing failure. The crescent starts at a bar-tack corner where the stitch block is too small or sits on a seam allowance instead of through the full stack. The fix is a wider tack, one reinforcing layer under every anchor, and a seam test to ASTM D5034 before tooling release.
How should a buyer phrase a magnetic-guided closure requirement?
Name the family and the numbers: a self-locating magnetic-guided mechanical latch with stated pull-off force, shear force, cycle life at a stated load and operating temperature range. Fidlock is one manufacturer in that category; naming a brand alone gives you no acceptance criterion and blocks a second source.
Does a coating on the shell affect how a hip module wears?
Yes. A coating improves water shedding and stiffens the panel, which makes threading stiffer and can increase abrasion at the hip contact point. If the pouch must thread easily through webbing rows, specify a lighter finish on the mounting face and keep the heavier finish on the outer panel.
What container plan should a first module order assume?
Plan by carton count against 20GP around 28 CBM and 40HQ around 68 CBM, and consolidate modules with their host chassis. A separate partial shipment to protect a launch date usually costs more than the margin on the units inside it, so build the container plan before approving the sample.