Home › Field notes › What Is Laser-Cut MOLLE: Process, Slot Geometry, Trade-Offs and the Bo
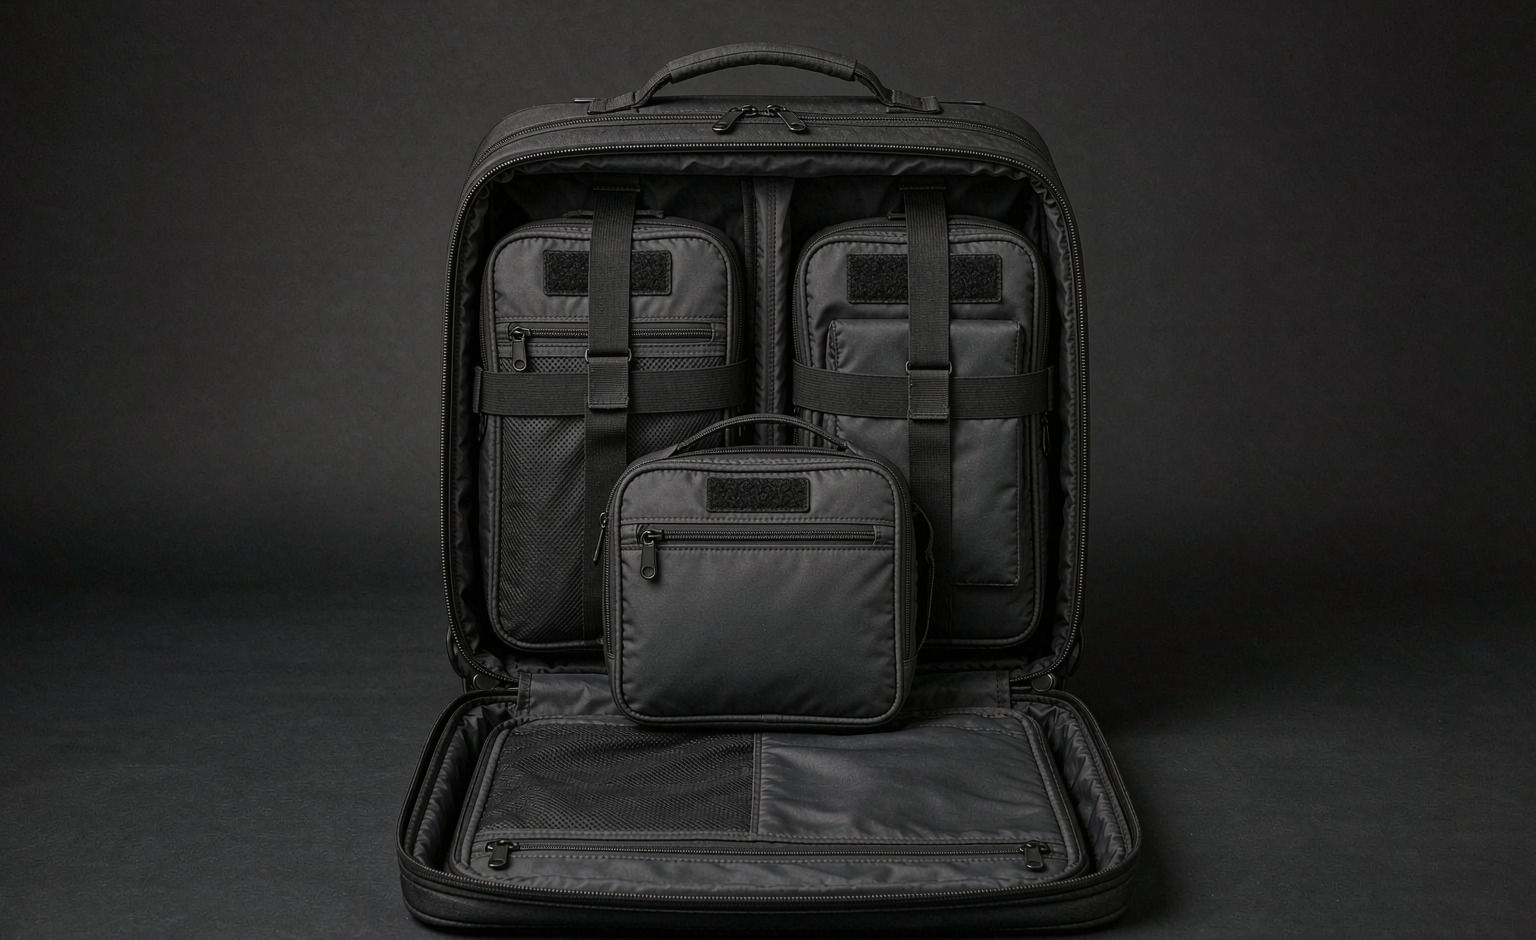
Laser-cut MOLLE is an attachment array produced by cutting apertures straight into a laminated or coated face panel, so the openings replace the sewn webbing rows they imitate. The route removes added material, which lowers mass and gives a flat printable exterior, but it also moves the load path into the panel itself, where every aperture ends in two terminations that can start a tear. Useful slot arrays keep the rhythm most commonly published for PALS-style grids, with rows on a 38 mm step and openings repeating every 50 mm, while the aperture height has to suit the strap thickness actually being sold. Order minimums sit at 500 units per colourway, with sampling at 6-10 working days and the main run following over 35-50 days. The subject is civilian load carriage only, covering outdoor, worksite, first-aid and daily carry use, with no claim of defence approval.
What Laser-Cut MOLLE Is: From Laminate Selection to Finished Slot Panel
A cut array begins as a face textile, not as webbing. The panel is built from a base cloth bonded to a coating or film, occasionally with a second layer behind it, and the apertures are then formed by a cutting head that removes material along a programmed path. The heat of the cutting head seals the yarn ends it passes, which is what stops the opening from fraying without any further operation.
That single difference drives everything downstream. A sewn row adds material and its load travels through tape, stitch islands and a backing layer. A cut aperture removes material and its load travels through the panel around the opening, concentrating at the two ends of each slot. The panel therefore has to be specified as a structural component rather than as a face fabric with holes in it.
Three process variables decide the result. Cutting power and speed together set how much heat enters the edge: too much and the edge becomes brittle or discoloured, too little and the seal is incomplete so the opening frays in service. Focus and assist gas determine edge quality and the amount of residue left behind, which matters both for appearance and for how a strap slides. Programmed path order matters more than it sounds, because cutting adjacent apertures consecutively can let heat accumulate in the strip between them and distort the row.
Material choice comes before all of that. A laminate that cuts cleanly, holds a sealed edge, resists tear propagation and survives the storage climate is the starting point; a cloth chosen for hand feel and then cut will usually fail at the slot end within a season. Programmes that already run sewn rows on other bodies often keep one panel supplier for both routes, so the attachment grid reference stays consistent across the catalogue.
Verdict: Laser-cut MOLLE is a structural panel with apertures rather than webbing with gaps, so the specification has to start with laminate selection and cutting parameters, and the load path has to be treated as running through the panel around each opening rather than through tape.
Slot Geometry: Aperture Height, Length, Spacing and Edge Condition
Four geometric values govern whether a strap threads, stays threaded and survives repeated use, and each one is measurable at incoming inspection.
Aperture height is the most critical. It has to be tall enough for the strap the range sells, including any stiffener or binding, and short enough that the strap cannot ride up and rattle. Where a programme sells pouches from more than one supplier, the height should be set against the thickest strap in the approved list rather than against the thinnest, because an opening that is generous for one strap lets another sit loose.
Aperture length sets how much bearing area the strap develops and how much material remains between neighbouring openings. Longer openings make threading easier and reduce the chance of a strap binding at the corner, but they remove more material from the panel and shorten the strip that carries load between rows. Shorter openings leave more panel material and concentrate stress at the ends.
Spacing follows the rhythm users expect. Rows on a 38 mm step and openings repeating every 50 mm match the values most commonly published for PALS-style grids, so a pouch cut for sewn rows will usually thread a correctly built cut array. Deviating from that rhythm is possible and occasionally desirable for styling, but it breaks compatibility with the accessory population and should be a deliberate, documented decision.
Edge condition is the fourth value and the one most often left uncontrolled. A well-cut edge is sealed, uniform in colour, free of beads and free of loose char. A poorly cut edge is rough, brittle or sticky, and it abrades the strap every time the pouch is threaded, which shortens the life of both parts. Inspecting edge condition under magnification at first piece is cheap and catches the majority of process problems before bulk starts.
Spec rule: State aperture height against the thickest approved strap, aperture length with the remaining strip width, row spacing at 38 mm and repeat at 50 mm unless a deliberate deviation is documented, and inspect edge condition under magnification at first piece rather than relying on appearance.
Laser-Cut Panels Versus Sewn Webbing: Where the Application Boundary Sits
The two routes are frequently presented as a stylistic choice, and they are not. They differ in mass, in tolerance, in how they fail and in what can be done about it afterwards, so the boundary should be drawn from the use case.
Sewn rows tolerate variation. A strap slightly thicker than nominal still passes, a slightly thin one still bears, and a damaged row can be put right by any competent service shop. That tolerance is why long-lived ranges with a replacement pouch tail keep choosing them. The cost is mass, a raised profile that snags, slower sewing, and water held along the rows after rain.
Cut arrays win where a flat exterior matters. They print and embroider cleanly, they add almost no profile, they weigh less, and they look quieter on an urban body. The cost is that the panel itself becomes the load path, that a torn aperture cannot be sewn back, and that strap thickness has to be controlled across the whole accessory population the brand intends to support.
Load class separates them most cleanly. Dense contents on inner rows suit sewn rows. Light to medium contents, carried where the profile benefit is worth more than the ultimate pull strength, suit cut arrays. Where a range needs both, a hybrid works: sewn rows externally for the pouches that are reconfigured often, and a cut panel inside or on a secondary face for discreet organisation.
| Criterion | Laser-cut slot panel | Sewn webbing rows | Which route leads | Deciding question |
|---|---|---|---|---|
| Added mass | Material is removed, so the panel is lighter | Tape and stitching both add mass | Cut panel | Is empty mass a rated requirement? |
| Exterior profile | Flat, with no raised rows | Raised, and catches on surroundings | Cut panel | Does the body pass through tight spaces? |
| Print and branding | Clean surface for print and embroidery | Rows interrupt decoration | Cut panel | Is a large printed mark required? |
| Strap thickness tolerance | Requires a controlled strap population | Forgiving of thickness variation | Sewn rows | Are third-party pouches sold? |
| Threading cycles | Wear begins at the aperture ends | Islands and tape absorb the wear | Sewn rows | How often is the pouch re-fitted? |
| Supported load class | Light to medium | Dense loads on inner rows | Sewn rows | What is the heaviest approved module? |
| Repair in service | A torn aperture cannot be closed by sewing | A damaged row can be re-stitched | Sewn rows | Is field repair part of the offer? |
| Process cost | Lower sewing cost, higher material cost | Higher sewing cost, lower material cost | Depends on volume | Which cost dominates at the ordered quantity? |
| Ageing exposure | Coating hydrolysis and ultraviolet embrittlement | Moisture retention and abrasion | Neither | What climate will the goods see? |
Selection rule: Select a cut panel where a flat printed exterior, low profile and low mass are commercial requirements and the supported load class stays light to medium, and select sewn rows where the pouch population is uncontrolled, threading cycles are frequent, dense loads must be carried or field repair is promised.
What the Cut Route Buys and What Each Advantage Costs
The advantages are real, and each one carries a counterpart that belongs in the same decision.
Mass saving is the first. Removing tape and stitching reduces the weight of the attachment face, and on a body where several panels are involved the saving is noticeable. The counterpart is that the panel itself must now be heavier or better constructed to carry the load the tape used to carry, so some of the saving is given back in laminate specification. A programme that cuts the array and leaves the panel unchanged usually meets its weight target and misses its durability target.
Profile is the second. A flat face passes through doorways, vehicle apertures and crowd without catching, and it looks quieter to the civilian buyer who does not want a technical appearance. The counterpart is that a flat face gives a strap less to grip, so anti-lift behaviour depends more on aperture fit and on any secondary restraint than it does with a raised row.
Branding is the third. A printed mark, a large embroidered logo or a sublimated panel all work better on an uninterrupted surface. The counterpart is that decoration stiffens the panel locally and can interfere with threading if it crosses a row, so the artwork has to be placed with the mounting map in front of the designer.
Manufacturing cost is the fourth and is genuinely mixed. Cutting replaces a good deal of sewing time, which saves labour, but the laminate costs more per square metre than a woven face and the cutting programme has to be set up and maintained. At low quantities the setup dominates; at higher quantities the labour saving usually wins. Programmes should ask for both numbers at quotation rather than assuming the cut route is cheaper.
Takeaway: Credit the cut route for mass, profile, branding and sewing labour, then debit it for the heavier laminate, the reduced strap grip, the artwork constraint and the cutting setup, and request both cost figures at quotation instead of assuming one route is cheaper.
Failure Signatures Peculiar to Cut Aperture Arrays
Cut panels fail in ways sewn rows do not, and the diagnosis differs accordingly. Four signatures cover the majority of field returns.
A tear running from an aperture end is the characteristic failure. Each opening ends in two terminations, and those are where stress concentrates when a strap is threaded repeatedly or pulled at an angle. The diagnostic is visual: look for a split starting at the end rather than in the middle of the strip between openings. Prevention is a longer remaining strip, a radiused end rather than a sharp corner, and a laminate with better tear resistance.
Delamination appears as the bonded layers separating near the openings, often starting as a cloudy patch and progressing to a visible lift. It points at adhesive selection or at the cutting heat having damaged the bond at the edge. Conditioning the panel at elevated temperature and humidity before any load test catches most of it, because delamination rarely shows on a fresh sample straight off the machine.
Hydrolysis shows as a coating that has gone soft, tacky or cracked, typically after storage in a hot humid climate rather than in use. It is a material selection problem, not a process problem, and it is the reason coating chemistry should be qualified against the distribution chain rather than against the factory. Ultraviolet embrittlement is related but distinct: panels stored or used in strong sun lose flexibility and crack at the aperture ends.
The fourth signature is strap wear rather than panel wear. A rough or sticky aperture edge abrades the pouch strap every time it is threaded, so the strap fails before the panel does. Inspecting edge condition and cycling a production strap through the same aperture repeatedly, then examining both parts under magnification, is the cheapest way to catch this before launch.
Judgement: Diagnose cut arrays by looking first at the aperture ends for tear initiation, then at bond integrity after conditioning, then at coating behaviour after climate exposure, and always cycle a production strap repeatedly to check edge abrasion before any load figure is discussed.
How to Spec a Laser-Cut MOLLE Panel: Drawing Callouts and Acceptance
A cut panel needs a different drawing set from a sewn one, because the things that go wrong are different. Seven callouts cover it, and each one maps to a check that remains possible after the body has been closed up.
| Callout | Why it matters | Acceptance check | Record retained |
|---|---|---|---|
| Laminate reference and layer build-up | The panel is the load path, not a face fabric | Material certificate and first-piece cut sample | Laminate reference, layer count, supplier lot |
| Aperture height and tolerance | Sets which strap thickness fits and how much it can ride | Gauge check on a dressed first piece | Dimension record against the approved strap list |
| Aperture length and remaining strip width | Sets bearing area and the material left to carry load | Measurement on a cut sample | Dimension record with revision mark |
| Row spacing and repeat | Keeps compatibility with the accessory population | Measurement across the whole panel | Spacing record, taken end to end |
| Edge condition | Sealed edges stop fray and protect the strap | Magnified inspection at first piece | Photograph of the accepted edge |
| Cutting parameters | Heat input sets edge brittleness and bond damage | Process record reviewed at first piece | Parameter sheet tied to the material lot |
| Panel backing and tie-in | Returns aperture load into the body structure | Loaded pull and flex review | Backing note and tie-in detail |
Laboratory work follows the callouts. Behaviour of the coated laminate is assessed under ASTM D751, including adhesion and flex, tensile behaviour of the base cloth under ASTM D5034, and transit damage risk under ISTA 3A where the distribution chain is rough. Most retail channels ask for OEKO-TEX Standard 100 certification of the finished textile when a range is onboarded. None of these replaces a threading cycle on the finished body, which remains the test that predicts customer experience.
Our production team works from a 4,950 m² SGS-verified production floor where 149 machines and 7 production lines are run by 137 people, with capacity of 200,000 units each month. The founder has been in bag production since 2004 and the business dates to 2014. Orders move through sampling, a signed-off pre-production piece, and an AQL 2.5 inspection before goods are loaded; current panels appear under the modular product range.
Programme Route, Commercial Terms and Documentation for Cut Panels
Cut panels change two things in the programme route: material lead time and the approval sequence. Everything else follows the standard path.
Material lead time comes first, because a suitable laminate is a more specialised purchase than a woven face. Where the specified laminate is stocked, sampling takes 6-10 working days; where it has to be sourced or the cutting programme has to be developed, 12-15 working days is the realistic figure. Volume production then takes 35-50 days from that approval. Building that extra sampling time into the launch calendar is the single most useful thing a buyer can do.
Commercial terms match the rest of the range: 500 pieces per colourway is the entry point, the sample charge of USD 50-150 is deducted from the bulk value, and cutting templates or print screens are quoted at USD 300-2,500. Payment is on T/T 30/70 and goods leave after an AQL 2.5 inspection. A budget figure is supplied within 24-48 hours, FOB Xiamen, and delivery options are 25-35 days by sea, 5-8 days by air or 3-5 days by express.
The approval sequence is where cut panels differ most. In addition to the usual first-piece review, three items are needed: a magnified edge inspection, a threading cycle carried out with a production strap on the finished body, and a conditioning trial for the coating where the distribution chain includes hot or humid storage. Those three are cheap at sampling and expensive after launch, which is the argument for making them a standing requirement rather than an option.
Documentation closes the loop. The laminate reference, the cutting parameter sheet, the accepted edge photograph and the threading cycle count all sit in the same file as the drawing revision, so a reorder placed a year later can be matched to the construction that was actually approved. Bodies using this route are documented alongside civilian tactical backpack formats and compact everyday carry modules.
Bottom line: Budget 12-15 working days of sampling whenever a laminate or cutting programme must be developed, work from 500 pieces per colourway, and treat magnified edge inspection, a production threading cycle and coating conditioning as standing release conditions rather than optional extras.
Where Cut Panels Belong in a Range: Practical Placement
Placement is the decision that determines whether a cut array is an improvement or a downgrade, and it is best made model by model rather than as a blanket policy for the range.
Urban and commuter bodies suit it best. Profile and quiet appearance are what the buyer is paying for, the load class is modest, and the pouch population is usually small and controlled. A discreet organiser panel inside the body suits it just as well, since the array keeps contents in place without announcing itself on the exterior.
Work and field bodies suit it less well. Those users reconfigure often, wear gloves, carry dense contents and expect a repair. Sewn rows answer all four of those requirements better, and the profile penalty matters little in that context. Where a work range wants the printed surface, a hybrid is usually the answer: a cut panel for light organisation and sewn rows for the pouches that actually carry weight.
Travel bodies sit between the two. A cut panel on the front face keeps the body presentable in an airport or a hotel, while internal organisation does the real work. The risk is that travellers overload the front panel because it looks capable, which is prevented by publishing a load class for each zone on the mounting layout.
Whichever route is chosen, the accessory population has to be managed. A range selling third-party pouches should keep the rhythm most commonly published for PALS-style grids so those pouches still thread, and should state the strap thickness range the apertures were cut for. A published rule set with three outcomes, being cleared, restricted or refused, is what keeps that manageable across seasons.
Verdict: Place cut panels on urban, travel and internal organisation faces where profile and appearance lead, keep sewn rows on work and field bodies where reconfiguration, dense loads and repair lead, and manage the accessory population with a published strap thickness range and a three-outcome acceptance rule.
Frequently asked questions
What is laser-cut MOLLE?
It is an attachment array made by cutting apertures directly into a laminated or coated face panel, so the openings replace sewn webbing rows. The cutting heat seals the yarn ends, which stops fraying. Because the panel becomes the load path, laminate choice and cutting parameters matter more than on a sewn build.
- Cut into the panel
- Edges sealed by heat
- Panel carries the load
How does laser-cut MOLLE differ from sewn webbing?
Sewn rows add tape and stitch islands and tolerate strap variation; cut apertures remove material and require a controlled strap thickness. Cut panels are lighter, flatter and better for printing, while sewn rows handle dense loads, frequent reconfiguration and field repair better.
What slot size suits a standard pouch strap?
Aperture height should be set against the thickest strap in the approved list, including any stiffener or binding, rather than the thinnest. Setting it generously lets a thinner strap ride and rattle; setting it tight forces the user to work the strap in and abrades the edge.
Do laser-cut panels keep PALS spacing?
A well-built array keeps rows on a 38 mm step with openings repeating every 50 mm, matching the values most commonly published for PALS-style grids, so pouches cut for sewn rows still thread. Deliberate deviation is possible but breaks compatibility and should be documented.
Can a torn laser-cut slot be repaired?
No. A tear starting at an aperture end cannot be closed by sewing, so ranges built on cut panels need a replacement-panel or replacement-body policy. Prevention is a longer remaining strip, a radiused end and a laminate with better tear resistance.
What causes delamination in laser-cut panels?
Delamination near the openings usually points at adhesive selection or at cutting heat having damaged the bond at the edge. It rarely shows on a fresh sample, so conditioning the panel at elevated temperature and humidity before load testing is the reliable way to catch it.
How does climate affect laser-cut attachment panels?
Hot humid storage can hydrolyse a coating, leaving it soft, tacky or cracked, and strong sun embrittles it so apertures crack at their ends. Qualify coating chemistry against the distribution chain rather than against factory conditions.
Is laser-cut MOLLE suitable for heavy pouches?
It suits light to medium load classes. Dense contents place the panel around each aperture under sustained load and tear initiation becomes likely. Where heavy modules are expected, sewn rows on inner rows are the safer selection.
How long does sampling take for a laser-cut panel?
Where the laminate is stocked, sampling takes 6-10 working days; where the laminate or the cutting programme has to be developed, plan 12-15 working days. Volume production then takes 35-50 days once the sample is approved.
What is the minimum order for a laser-cut panel build?
The entry point is 500 pieces per colourway, the sample charge of USD 50-150 is deducted from the bulk value, and cutting templates or print screens are quoted at USD 300-2,500. Payment runs T/T 30/70, and a budget figure is supplied within 24-48 hours, FOB Xiamen.
Which laboratory methods apply to laser-cut panels?
Coated laminate behaviour, including adhesion and flex, is assessed under ASTM D751; base cloth tensile under ASTM D5034; transit damage risk under ISTA 3A. Certification of the finished textile to OEKO-TEX Standard 100 is commonly requested at retail onboarding.
Why does the strap wear faster on a cut panel?
A rough, brittle or sticky aperture edge abrades the strap every time the pouch is threaded, so the strap fails before the panel does. Cycling a production strap through the same aperture repeatedly and inspecting both parts under magnification catches this before launch.
Should a range mix sewn rows and laser-cut panels?
A hybrid usually serves mixed channels best: sewn rows externally for pouches that are reconfigured often or carry dense loads, and a cut panel for discreet or internal organisation. Both interfaces should share one rhythm so a single accessory list works across the range.
Where do laser-cut panels belong in a product range?
Urban and commuter bodies, travel faces and internal organisers suit them, where profile and appearance lead. Work and field bodies generally suit sewn rows better because users reconfigure often, wear gloves, carry dense loads and expect repair.
How should third-party pouches be handled on a cut panel?
Publish a rule set with three outcomes: cleared, restricted or refused. State the strap thickness range the apertures were cut for and keep the standard rhythm so outside pouches still thread. Threading cleanly is not, on its own, an approval.