Home › Field notes › Bottom Reinforcement Methods for Backpacks: Five Routes Judged
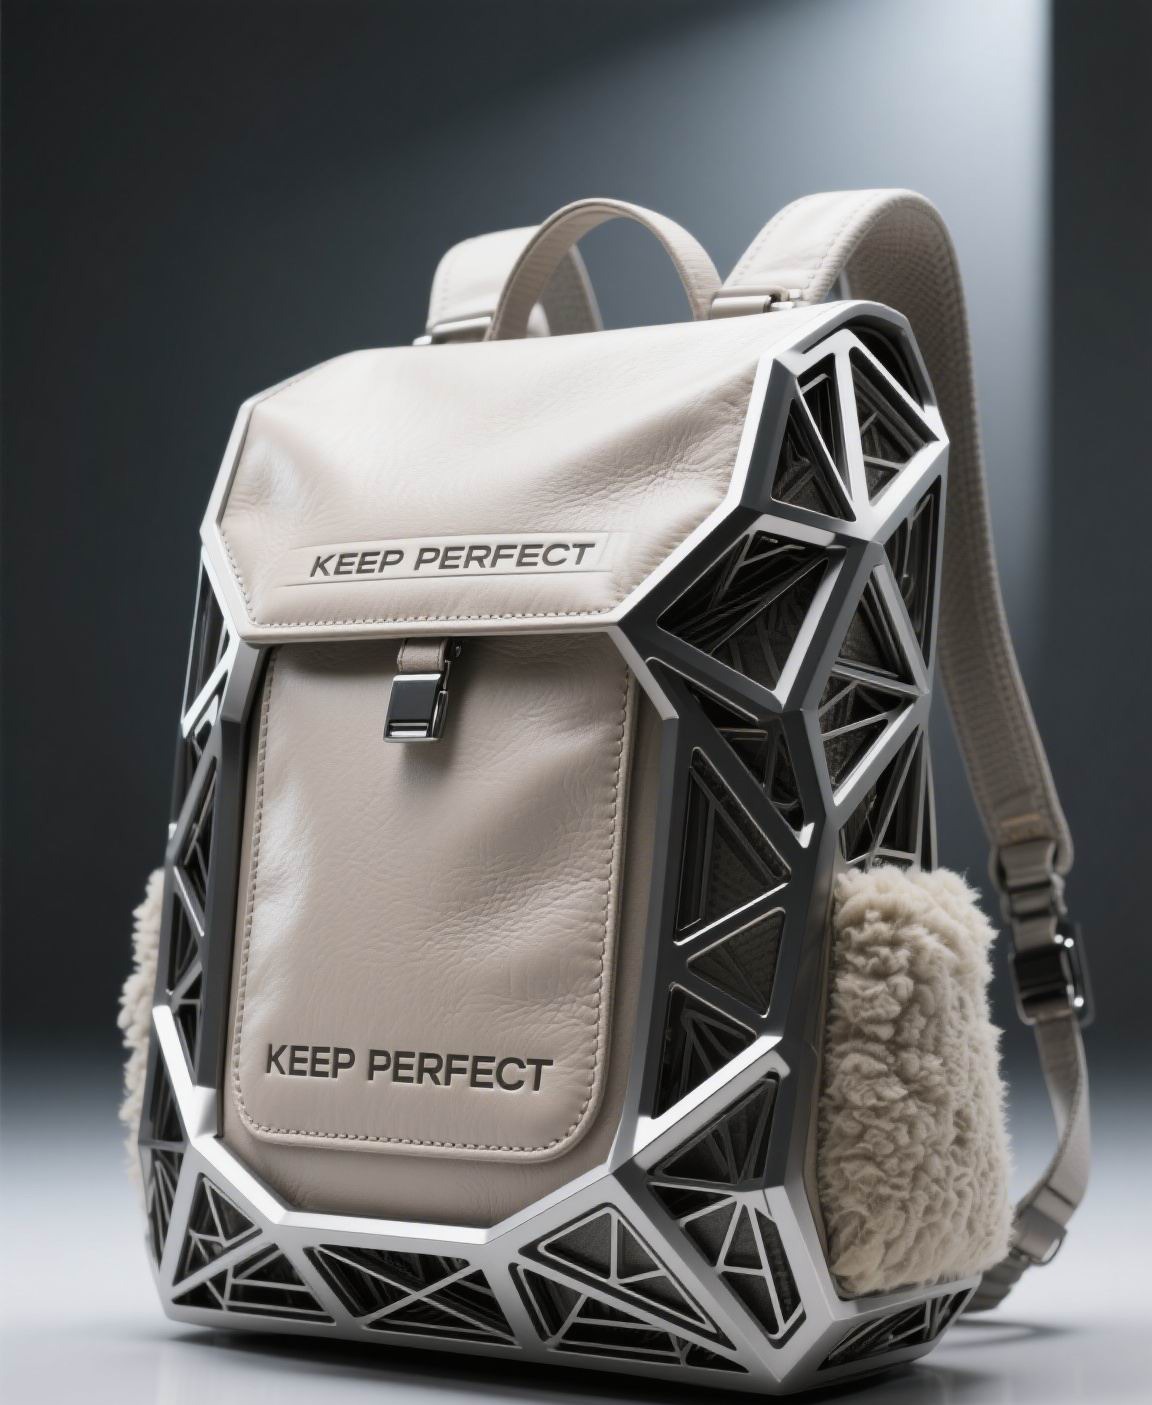
Bottom reinforcement on a backpack is chosen between five routes: a doubled shell ply, a bonded oversize patch, a semi-rigid insert sheet, moulded feet, or a bound perimeter using heavy tape. They differ less in the protection they give than in where they eventually fail — a doubled ply wears through slowly and predictably, a patch fails at its boundary, an insert transmits point loads until it cracks, feet delaminate before any fabric suffers, and binding protects edges that often never needed protecting. Selection should follow one question first: does the base carry the load on its own feet or does it sit directly on the ground during the working day? Programmes are quoted at MOQ 500 per reference with prototype panels delivered in 6–10 working days, 12–15 where a moulded part must be made, and bulk assembly across 35–50 days once inputs are confirmed, released at AQL 2.5. The guidance below applies to civil carriers used for tools, electronics, site work, commuting and trail days, and makes no claim of defence qualification, ballistic performance or weapon carriage.
What Actually Damages the Bottom of a Loaded Pack
Four actions account for almost every bottom failure, and they are worth separating because each one points at a different reinforcement.
Sliding abrasion comes first, and it dominates when a loaded bag is dragged rather than lifted. It removes coating first and then works through the face yarns, and it punishes any hard step that stands proud of the surrounding surface. Impact loading is the second action — setting a bag down hard on concrete transmits the whole payload through whatever point happens to land first, which is usually a corner rather than the centre.
The third action is standing-load creep. A pack sat upright for eight hours in a vehicle puts its base under sustained compression against a floor that may be hotter than the specification anticipated, and foam or EVA beneath relaxes permanently. The fourth, least appreciated action is internal: contents with hard corners working against the base from inside, often through a liner rather than through the shell.
Those four combine into a predictable sequence on returned units. Corner coating goes matte within weeks, the base seam then starts to fray as the surrounding fabric thins beneath it, the reinforcement boundary becomes visible as a ridge, and finally the inner liner gives way at a point where contents have been pressing all along.
A trail chassis mostly meets impact and sliding in equal measure, whereas a site bag sees far more compression than anything else, which is why they should not share a base build. Adding material addresses only the first action of the four, which is the reason simple doubling disappoints so often.
Selection rule: Diagnose which of the four actions dominates — sliding, impact, sustained compression or internal pressure — and choose spreading or lifting devices for anything other than pure sliding, because doubled fabric buys nothing against the other three.
Field Failure Signatures and the Route That Produced Them
Every reinforcement family leaves a characteristic signature, so a returned unit is usually enough to identify what was built without opening the specification. Ranked by how often each is seen:
- Rounded, symmetrical thinning across the whole base: a doubled ply doing its job, worn evenly and slowly over two seasons.
- An intact patch on a worn surrounding with a distinct tear line at the patch edge: the classic bonded-patch boundary failure, usually because the patch was cut to the contact print rather than beyond it.
- A crease running partway across the base with localised fabric loss either side of it: an insert sheet that has cracked and is now acting as a cutting edge.
- Four clean circles of damage, sometimes with one foot missing: moulded feet that have abraded through their own fixing, leaving the shell intact underneath.
- Intact shell, abraded binding: a bound perimeter that absorbed everything and can be replaced on its own.
- Interior wet spots at four points after rain exposure: feet or inserts fixed through the shell without a sealing plan.
Recording those signatures against lot numbers is worth the small effort of keeping photographs. It converts a vague dispute about quality into a specific claim about one route, which can then be changed in one drawing revision.
A second pattern is worth flagging to buyers who sell rather than rent: the majority of bottom complaints arrive between month four and month nine, and almost none arrive in month one. Warranty provisions built on thirty-day returns systematically miss this class.
Verdict: Photograph returned bases next to lot numbers and record which of six signatures they show, because the expense incurred after two seasons will be claimed against whatever reinforcement route produced it rather than against any other cause.
Five Reinforcement Routes Judged Side by Side
The comparison below reduces each route to the things a buying team actually argues about: how it spreads load, what it adds to the build, what it costs at a 500-piece order, how it fails and whether anyone can repair it.
| Criterion | Doubled shell ply | Bonded oversize patch | Semi-rigid insert sheet | Moulded feet | Bound perimeter tape |
|---|---|---|---|---|---|
| How it works | Sacrificial outer layer over a load-bearing inner one | Higher-spec material bonded across the contact print | Spreads point loads across a wider area | Lifts the contact surface clear of the floor | Armours the edge where coating fails first |
| Robustness against impact | Low | Low | High | Medium | Low |
| Mass added across a 0.12 m² base | 70–105 g | 40–70 g | 110–190 g | 25–45 g | 12–25 g |
| Added cost per unit at 500 | USD 0.75–1.30 | USD 0.55–1.10 | USD 1.20–2.40 | USD 0.40–0.90 | USD 0.20–0.45 |
| Characteristic failure | Even thinning over two seasons | Tear at the patch boundary | Crack that becomes a cutting edge | Fixing pulls out; foot is lost | Tape abrades, then delaminates |
| Field repair outcome | Replaceable anywhere | Difficult; needs matched film | Usually terminal | Easy if feet are stocked | Straightforward re-binding |
| Tooling needed | None | Die-cut tooling | Die plus forming jig | Injection tooling | None |
Two combinations recur in successful programmes. A doubled ply with a bound perimeter handles most civil duty at modest cost, and the reason is that these routes fail slowly and independently. Adding feet to that combination helps only where the bag is habitually set down on wet ground rather than on dry floors.
What rarely works is putting inserts and feet on the same base without reconsidering the interfaces. Two stiff elements either side of a soft shell create differential flex, and the area between them becomes the new failure point. Comparing finished examples held in the reference programme library is usually faster than modelling that behaviour.
Judgement: Pair a doubled ply with a bound perimeter unless the bag habitually meets wet ground, since those two fail slowly and independently, and avoid combining an insert with feet because differential flex between two stiff elements simply relocates the failure.
Why the Boundary Between Reinforced and Unreinforced Shell Fails
Most base returns are not fabric failures in any honest sense. They are boundary failures — the transition between two different stiffnesses becomes a hinge, the hinge flexes more than anywhere else, and eventually it wears through.
Three controls reduce boundary failures, and none of them require expensive material:
- Extend every patch 25–40 mm beyond the last point of contact, then taper its edge rather than ending it square.
- Avoid terminating a stiff element at the same point where a seam exists; separate the two by at least 20–30 mm.
- Where a sheet insert is unavoidable, radius its corners to 8–15 mm, since square corners puncture the shell during a lateral impact far more often than teams expect.
The binding choice belongs here too. Binding worries less about covering the edge than about changing the way that edge behaves; a 20–25 mm tape folded over a double-ply edge adds thickness exactly where flex is highest, and on some patterns it accelerates the very problem it was added to solve.
Finally, note the role of the floor temperature. A black base left in a vehicle hits 65–75 °C in summer, adhesives soften in that range, and patches that survived every bench test begin lifting at their corners.
Takeaway: Treat every stiffness transition as a design element rather than as a seam tolerance detail: extend patches 25–40 mm past contact, keep them 20–30 mm clear of seams and radius insert corners to 8–15 mm.
Feet, Studs and the Two Problems They Bring With Them
Moulded feet solve a real problem: keeping contents off wet or contaminated ground. They work best where the base is otherwise protected, and they introduce two complications that should be written into the drawing.
The first is height. Feet lower than 4–6 mm do little on uneven ground because gravel bridges them; feet taller than 10–12 mm create a ledge that catches on vehicle sills and stair edges, and they raise the whole centre of gravity that this advantage elsewhere in the design has been trying to keep low.
The second is fixing. Rivets or screws through the shell are holes in whatever barrier the fabric carries, and any wet-weather claim becomes very difficult to defend. Bonded-on feet avoid the holes but then depend on the same adhesive that softens at 65–75 °C, and they usually depart as a unit.
A helpful middle route is often overlooked: a moulded perimeter runner rather than four discrete feet. It spreads load along an edge instead of concentrating it at four points, requires one part instead of four, and gives a continuous surface that slides rather than stubs.
Whichever option is taken, specify spare feet. A bag that must be retired because one lost a foot is an expensive outcome from a part costing cents.
Bottom line: Keep any discrete foot between 4 and 12 mm tall, fix it with a plan for the holes it makes in the barrier, and stock spares, since the usual end state is a serviceable base retired over a lost 8-cent part.
Matching the Route to a Duty Profile Before Costing
Selection becomes straightforward once duty is explicit. The following allocation reflects what succeeds across four recurring civilian patterns, though it should be treated as a starting point rather than a rule.
| Judgement axis | Doubled ply with bound perimeter | Perimeter runner with doubled ply | Insert sheet with bound edge |
|---|---|---|---|
| Duty it suits | Site tool carriage at 8–12 kg every working day | Wet ground survey, fishing and bankside work | Contents with hard edges carried over hard floors |
| Dominant action handled | Sliding plus impact | Standing water plus sliding | Point-load impact |
| Mass added on a 0.12 m² base | 82–130 g | 100–165 g | 120–215 g |
| Added cost per unit at 500 | USD 0.95–1.75 | USD 1.35–2.60 | USD 1.40–2.85 |
| Characteristic failure | Even thinning over two seasons | Runner delaminates first | Sheet cracks and cuts around itself |
| Repair outlook | Replaceable in any competent shop | Spare runner needed | Usually terminal |
| Avoid when | The bag must stand in standing water | Elevation must stay minimal | The body is expected to roll or crush |
The comparison deliberately omits an obvious fourth case: anything routinely dropped from shoulder height. No construction survives that habit well, and it is better handled by increasing contact area than by moving to a heavier device.
Readers intending to quote from this table should note one thing about cost comparisons: quotes for a single-ply with binding can look 30–40% cheaper than a zoned alternative, but the comparison only holds when the two quotations were built from the same duty assumption.
Where a shared chassis platform serves several duty patterns from one pattern set, choose the build for the most demanding case and accept the small cost across all references, because splitting the base construction across colourways costs more than the saving it returns.
Spec rule: Write the duty down before comparing quotations, because a base specified for the mildest case in a family fails field duties it was never costed to meet and drags the whole platform's reputation with it.
Verification: Drop, Standing Load and Bond Integrity
Three exercises remove most of the risk attached to a new base build, and none require unusual equipment.
Drop testing is best handled at finished-unit level rather than at material level, since failure comes from load path rather than from fabric strength. A packed unit dropped onto its base ten times from 300 mm, then inspected for crack formation at any stiff boundary, exposes weak inserts immediately. Teams without a drop rig usually arrange this through the development and inspection service rather than buying equipment.
Standing-load behaviour is cheap and revealing. Load a unit to 120% of declared maximum, stand it upright for forty-eight hours, then re-measure the base footprint and check whether insert and shell still sit flush; separation beyond 2–3 mm predicts future delamination.
Bond and coating quality belong to the material stage. Coated fabrics should be assessed through routes such as ASTM D751 for coating adhesion and hydrostatic behaviour, since those properties determine whether a patch stays attached once heat and flex arrive.
Finally, combine the checks. A packed distribution carton run through ISTA 3A exercises the base in vibration and stacked configurations, and it finds more problems than any single material result. Dimensional checking on the resulting lots then follows ISO 2859-1 sampling at AQL 2.5, with critical defects tolerated at zero.
Those checks also work best in that order: material first removes hopeless candidates cheaply, and the carton run then exposes problems no material report predicts, such as a base seam that only opens under stacked vibration.
Production Realities, Repair Policy and Order Timing
Reinforcement decisions have consequences on the floor that rarely appear in a design review, chiefly in three areas: ply alignment, adhesive handling and repair policy.
- Doubled plies need placement accuracy within 3–5 mm, or one side of the patch sits too near its edge.
- Film and insert adhesives carry shelf life measured in months and require temperature control; a batch stored badly behaves correctly at first article and fails by the second lot.
- Foot fitting through a multi-layer base needs a punch rather than a hand awl; hand-cut holes come out ragged and leak.
- Repair policy should be decided before launch: which of the five routes the service network can actually fix, and which spares must be stocked per thousand units.
- Nothing above survives reconciliation unless each reinforcement step appears as a named operation on the costing sheet rather than buried inside a labour rate.
Vetted partner facilities provide the floors where such programmes run — 4,950 m² verified to SGS standards, staffed by 137 people across 7 lines and 149 machines for 200,000 units each month, under an entity established in 2014 whose founder has worked in bag production since 2004. Prototypes return in 6–10 working days, or 12–15 where a moulded part has to be built, tooling runs USD 300–2,500, and volume leaves the floor 35–50 days after approval.
Shipping then offers choices that suit different programme shapes: roughly 28 CBM per 20GP and 68 CBM per 40HQ by sea over 25–35 days, or 5–8 days by air when a launch date has moved.
Filing each reinforcement step as a named operation also changes behaviour later: when a revision swaps one ply for another, its cost appears immediately rather than being discovered at invoice.
Frequently asked questions
Which bottom reinforcement method lasts longest on site tool bags?
A doubled shell ply with a bound perimeter, kept feet-free. It survives 8–12 kg daily loads for two seasons because both parts fail slowly and independently, whereas inserts crack and feet stub on ledges. Tooling costs nothing beyond USD 300–2,500 for any moulded part.
How much height should moulded backpack feet have?
Between 4 and 12 mm. Below 4–6 mm gravel bridges them and they protect nothing; above 10–12 mm they catch on vehicle sills and stair edges and lift the centre of gravity. A perimeter runner usually outperforms four discrete feet anyway. Require written evidence with each AQL 2.5 lot release.
Does adding feet make a backpack waterproof at the base?
They raise the contact surface, but any fixing through the shell breaches the barrier, so a wet-weather claim becomes hard to defend. Bonded feet avoid holes yet depend on adhesive that softens above 65–75 °C. Plan sealing separately at MOQ 500.
Why does the base fail at the edge of a patch?
The patch boundary creates a stiffness transition that flexes like a hinge, so it wears before either material does. Extend patches 25–40 mm past the contact print, taper the edge, and keep any seam at least 20–30 mm away from that boundary. Verify per lot under ISO 2859-1 rather than once per season.
What drop height should a base be validated at?
Ten drops from 300 mm onto concrete on the base face, packed to declared maximum, followed by inspection along every stiff boundary. Separation beyond 2–3 mm after forty-eight hours at 120% load predicts later delamination. Repeat all ten drops after a standing-load test, since the order in which damage accumulates changes which failures appear. Check the figure before a 40HQ allocation of about 68 CBM is confirmed.
How much does a doubled ply add to unit cost at 500 pieces?
Expect USD 0.75–1.30 per unit and 70–105 g across a 0.12 m² base. It reuses the ordered shell colourway, avoids a second fabric minimum and remains repairable anywhere, which is why it usually beats alternative routes on total cost. It requires no tooling, so the 6–10 working day sampling window applies unchanged. Keep it under ISO 2859-1 attribute sampling across lots.
Should a semi-rigid insert be used to protect heavy contents?
Only where impact on a hard edge is the dominant risk, since inserts spread point loads well but concentrate flex either side of themselves. Radius corners to 8–15 mm, expect USD 1.20–2.40 and 110–190 g, and accept that failure is usually terminal. Record the result in the file that accompanies each inspection at AQL 2.5.
What is the cheapest way to improve base durability?
Binding the perimeter with heavy tape at USD 0.20–0.45 and 12–25 g. It protects the edge where coating fails first and can be re-bound later, though on some patterns the added thickness at a high-flex zone makes matters worse. Prototype the change before committing, because tape width also affects how a base meets the ground. Settle this before paying the USD 300–2,500 tooling line.
How are base constructions checked during inspection?
Dimensional checks follow ISO 2859-1 sampling at AQL 2.5 with critical defects at zero, major at 2.5 and minor at 4.0. Verify ply placement within 3–5 mm, patch extension and evidence of correct bonding on the retained first article. Photograph every retained reference under raking light, because delamination begins visually long before anything actually separates.
What sampling terms apply to developing a new base build?
MOQ 500 per reference, prototypes in 6–10 working days and 12–15 when a moulded component is needed, tooling and screens at USD 300–2,500, sampling fee USD 50–150 refundable against the order, then 35–50 days of assembly, with settlement on T/T 30/70 and shipment FOB Xiamen expected thereafter.
Can one base construction serve a whole modular range?
Usually yes, and it is normally cheaper than splitting constructions, because a shared pattern set plus one binding operation costs less than managing variants by duty. Build for the most demanding case in the family and carry the small added cost. File the evidence beside the AQL 2.5 report for each lot.
What spares should be stocked for repairable bases?
Stock perimeter tape, any moulded foot or runner at roughly four to eight sets per thousand units, and one roll of patch film per colourway. Nothing protects long-term service experience more cheaply than a part costing a few cents being available. Agree quantities per thousand units before the 35–50 day build begins.
How does heat affect base reinforcement in summer vehicles?
A dark base left in a closed vehicle reaches 65–75 °C, which softens most film adhesives, so patch corners lift after intact bench results. Select adhesives rated above that band and re-check after a forty-eight hour standing-load test at 120% of declared capacity before accepting the lot at AQL 2.5.